Disclaimer: Do not attempt unless you know what you are doing. It is possible to ruin the batteries or get serious injuries attempting what is shown below.
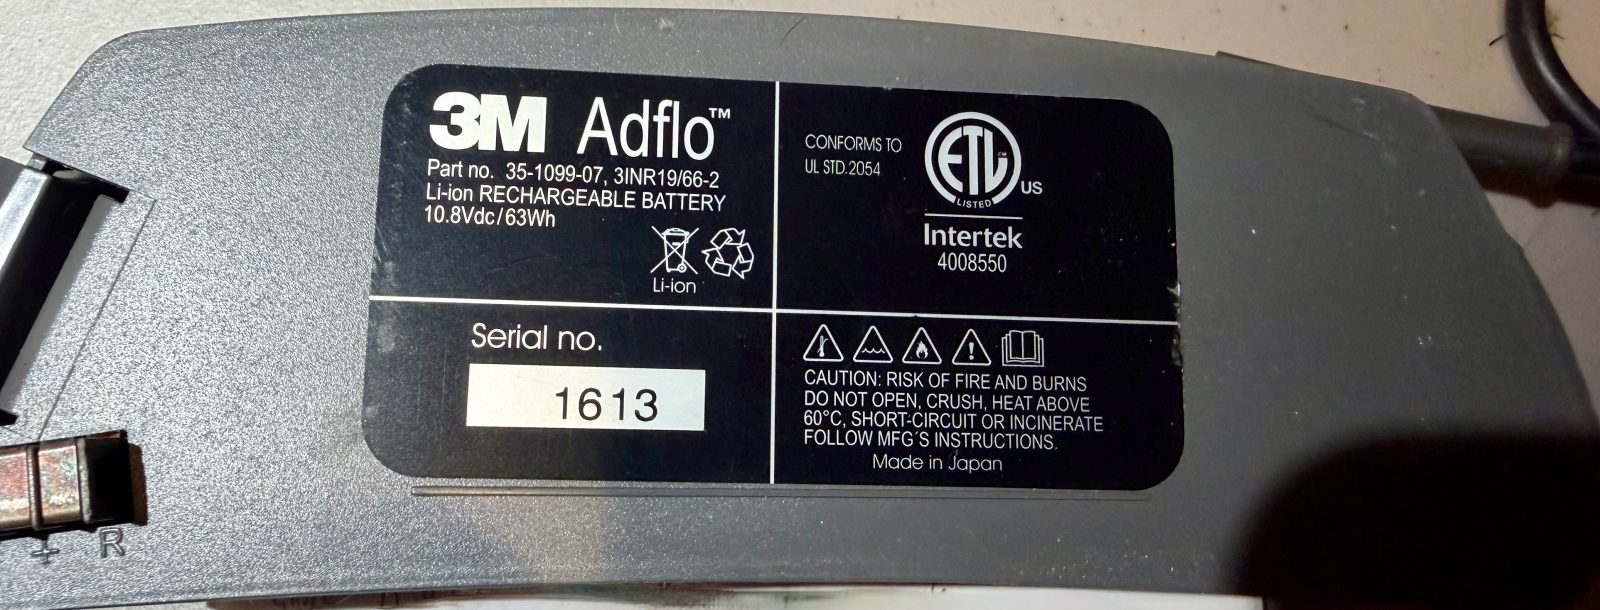
Many lithium batteries will not work on chargers if the voltage drops below a certain value. Usually, there are access holes, often hidden by tape, where one can insert probes and use a power supply or another battery to give the discharged battery enough charge to work on a charger. Unfortunately, my 3M Adflo batteries do not have these holes. In addition, the cases are glued together which further complicates any repair.
I purchased some old new old stock batteries that then sat for more than a year. When I went to charge them and some used batteries as well, the charger just kept flashing the wait signal for days without ever charging the batteries. So I decided to see if I could rejuvenate them.
Opening and Charging Cells
Feel free to skip this part if the only problem with your batteries is that they are discharged: In order to access the batteries, I used a utility knife or scalpel to cut through the glue at the joint as much as possible. Then I used small screwdrivers to start prying the case apart, breaking the glue seal as I went. The center of the case “lid” was also caulked to the batteries and had to be pried apart by reaching in.
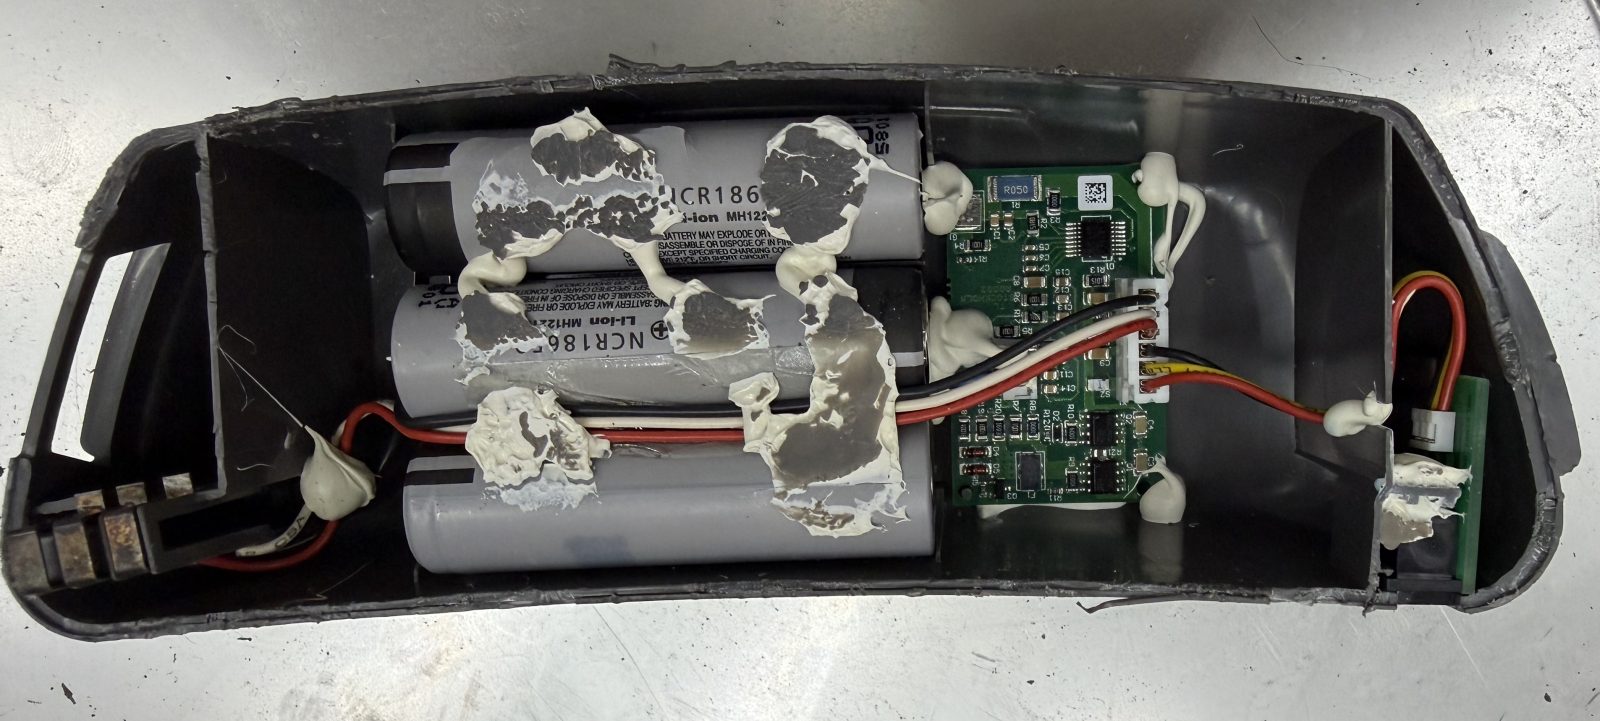
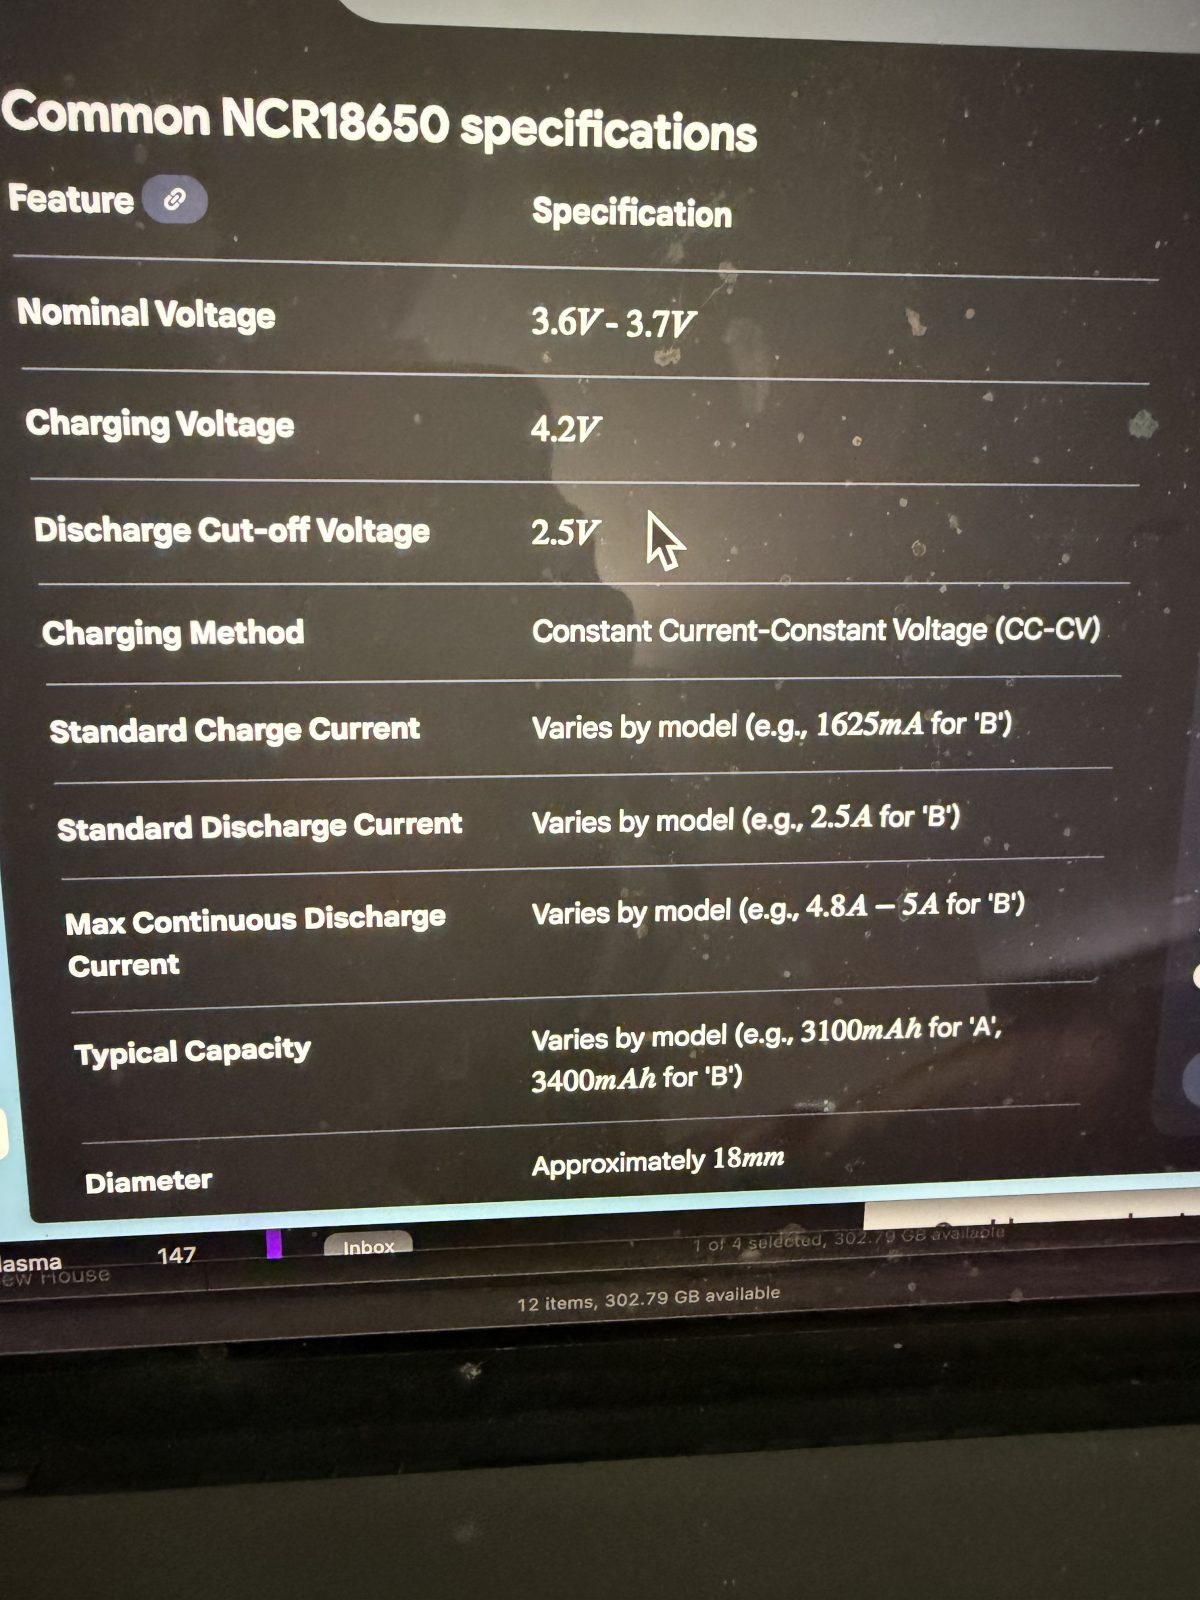
I then charged the pairs of cells (note that there are 6 batteries total) by applying voltage from an Adjustable DC Power Supply. I used a max 4.2V, max 1.6 A settings and charged until it reached 3.3V on the power supply. After each cell pair was charged, the battery was able to be charged on the Adflo charger.
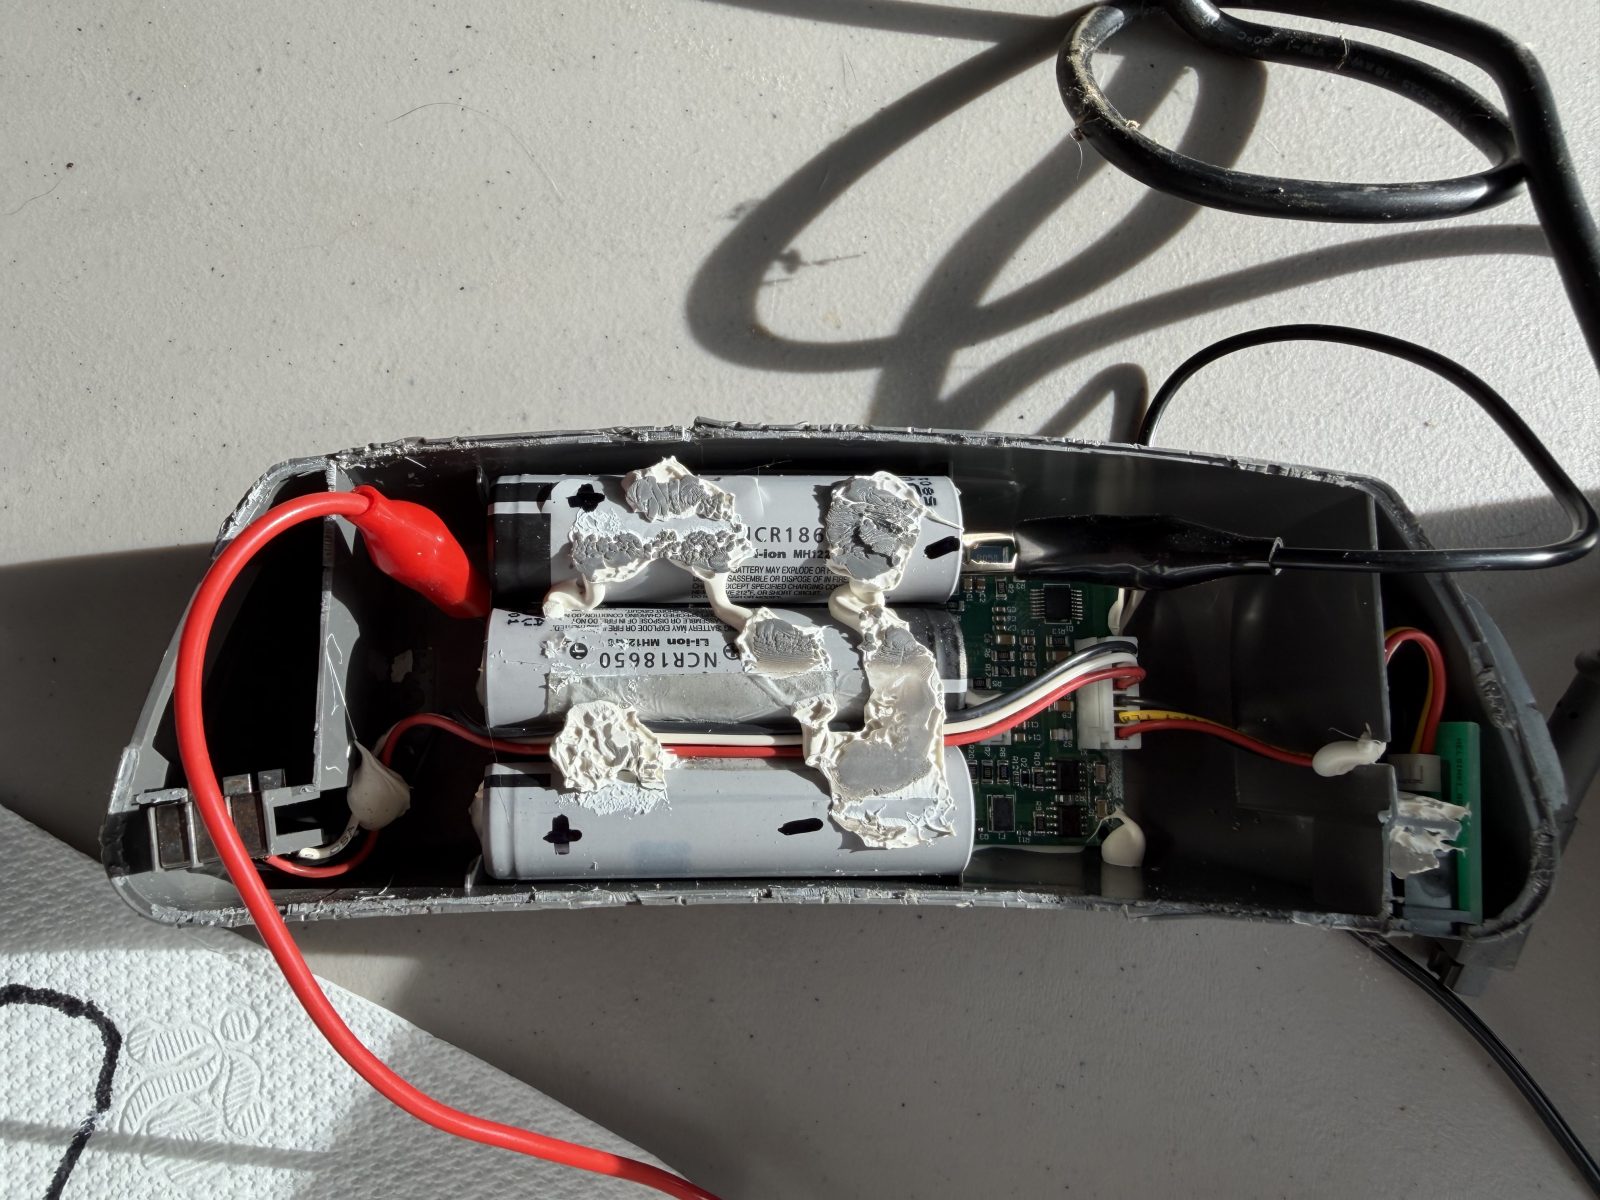
I did not want to have to open every Adflo battery so I measured the battery locations so I could drill holes and use wires to access the battery ends.
Less Invasive Charging
Using the information from above, I drilled holes to access the ends of the cells. One could drill the 6 holes A through F, just A, B, E, and F, or just A & F. Note that A & C are connected by a metal plate and D & F are also connected by a metal plate. So really, only one hole is required at each of those paired locations. I typically drilled holes for A, B, E, and F. The hole locations (X, Y mm) I used are as follows: A (42, 50), B (118, 52), C(42, 30), D(118,32), E(42, 10), and F(118, 12). The drill was sized to be just slightly larger than the pieces of wire I used. When drilling the holes, I angled the drill bit slightly towards the end of the cell.
Extremely Important:
When drilling, be careful and go slowly, checking for tiny flakes of metal. The battery locations varied some from battery to battery. There were a couple where the bit started hitting the actual cell. When this happens, stop immediately and relocate the hole if necessary. If you continue drilling, you will damage the cell at a minimum and possibly cause a fire, etc. although these cells are relatively safe.
I typically charged the battery using the following 3 battery charging configurations, charging until 3.3V was reached:
A (+ terminal) & B (- terminal), A (- terminal) & F (+ terminal), E (+ terminal) & F(- terminal)
After charging to all 3 pairings to 3.3V, I immediately used the Adflo charger to finish charging. Several ties, I had to repeat the power supply charging process since the Adflo battery charger did not charge the batteries. One then was fine. The other two did not so I cut them open and discovered that some of the cells were bad. I set these aside to repair at a later date.
Hopefully this is of use to some people.